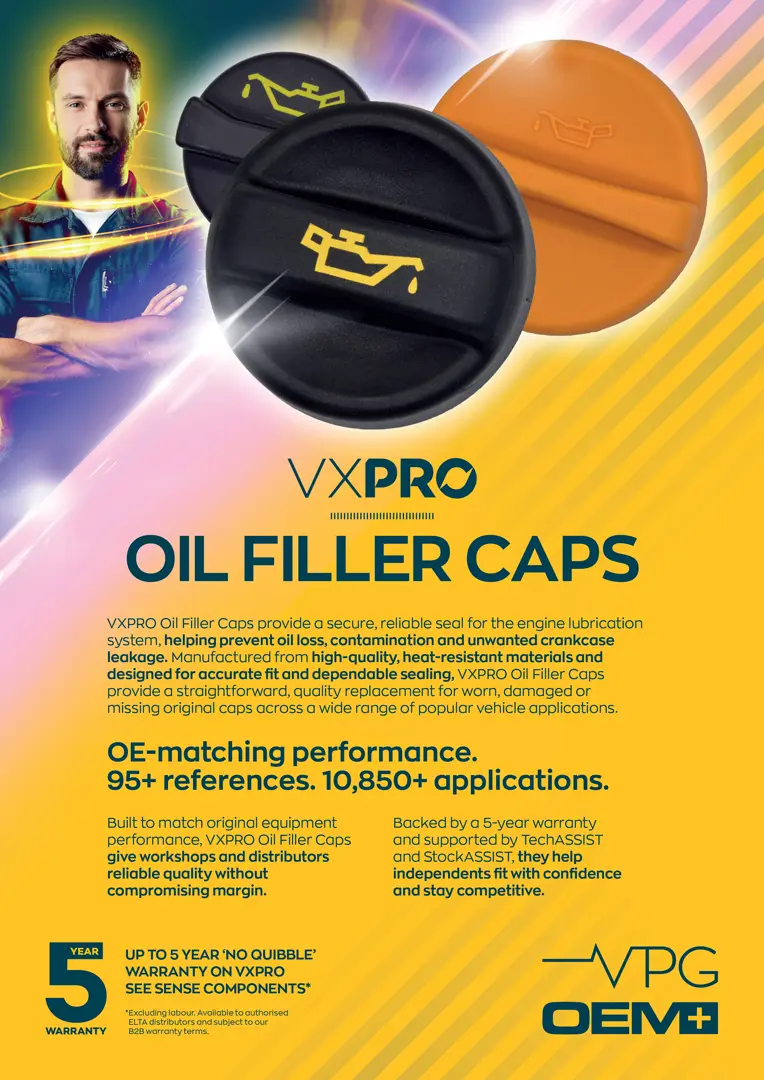
Oil Filler Caps

VXPRO Oil Filler Caps provide a secure, reliable seal for the engine lubrication system, helping prevent oil loss, contamination and unwanted crankcase leakage.
Manufactured from high-quality, heat-resistant materials and designed for accurate fit and dependable sealing, VXPRO Oil Filler Caps provide a straightforward, quality replacement for worn, damaged or missing original caps across a wide range of popular vehicle applications.
Supported by ELTA’s trade warranty and extensive application data, VXPRO Oil Filler Caps give distributors and workshops another dependable replacement solution from a brand built to Champion the Aftermarket.
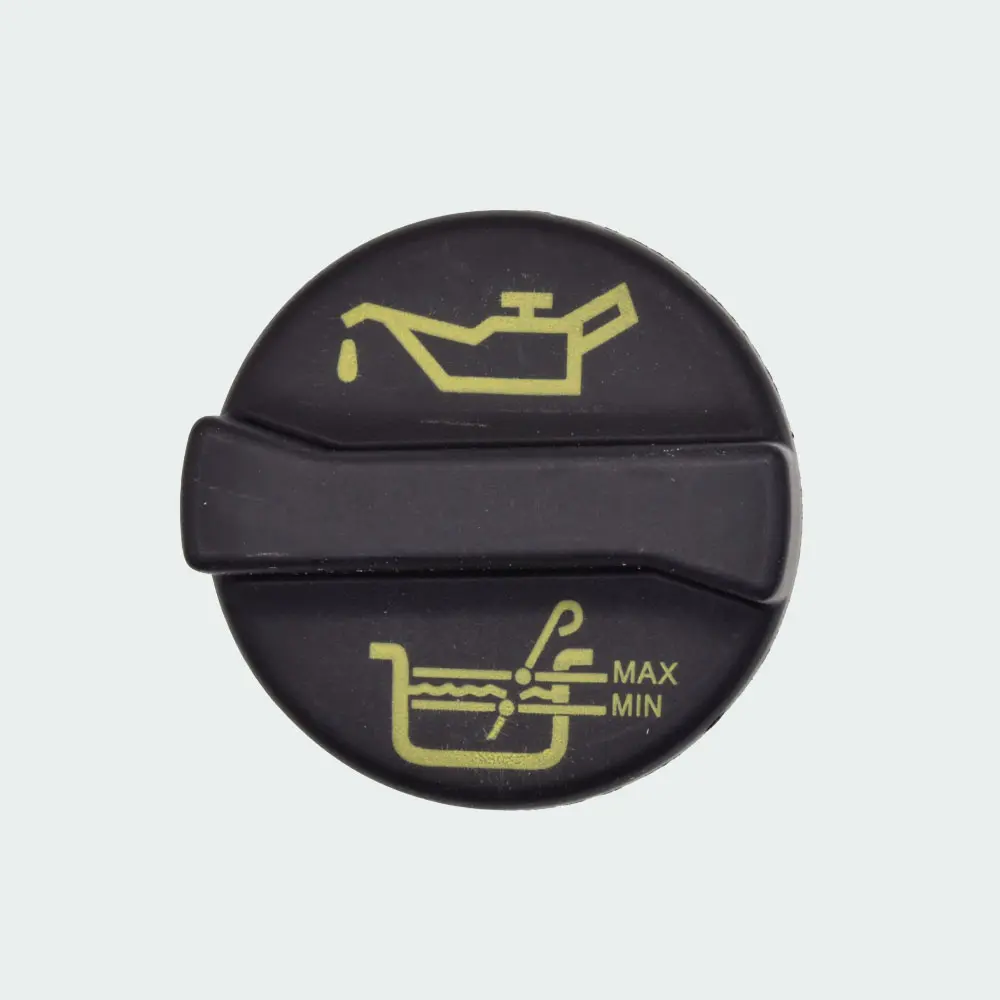
Oil filler caps are a simple but essential replacement item. Age, repeated servicing, heat and deterioration of the sealing element can all result in caps becoming damaged, difficult to secure or unable to maintain an effective seal.
With StockASSIST, we help distributors identify the most relevant references based on UK vehicle parc coverage and aftermarket demand — helping you stock the parts most likely to be needed.
Here are 10 of the most relevant oil filler cap references in our UK range:
Here are 10 of the most requested crankshaft sensor references in our UK range:

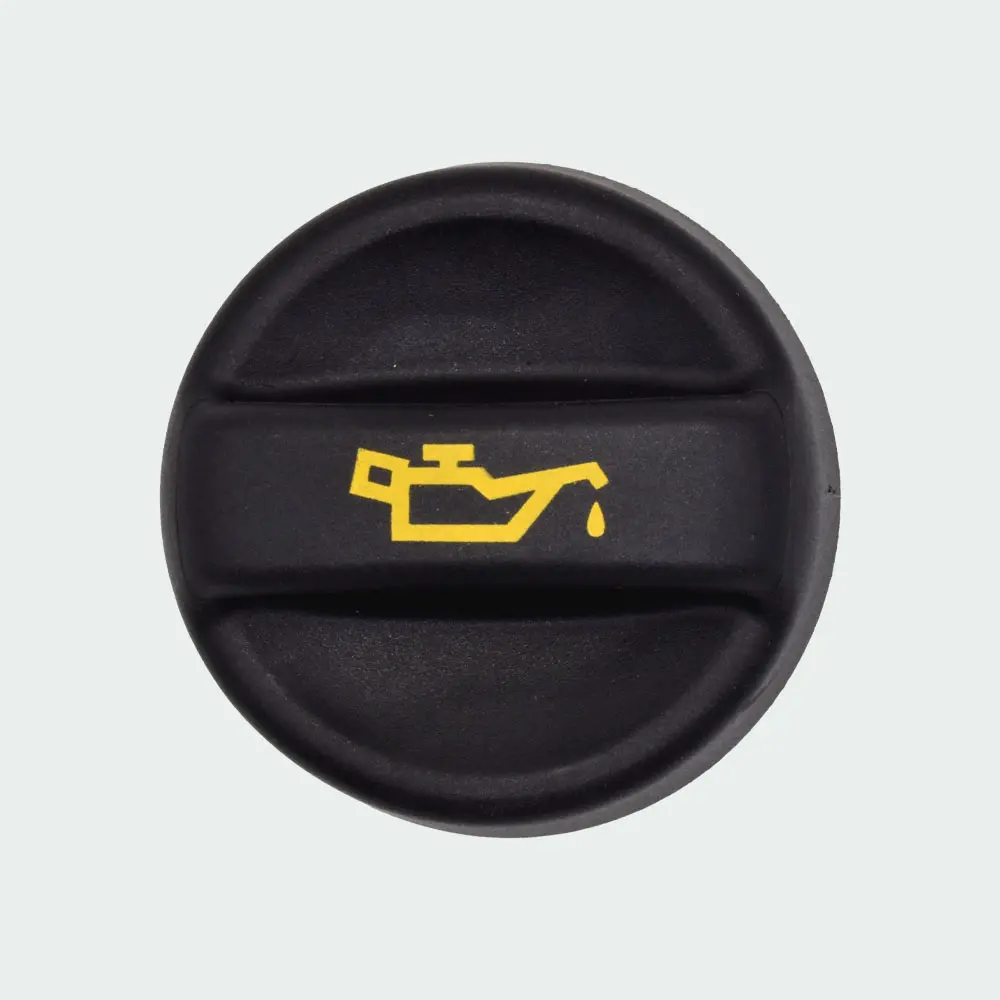
ES5501
VXPRO Oil Filler Cap
ES5501
1180S5, 1703821, 1713791, 9670015080, 9675477380
Citroën Berlingo, C1, C3, C4, C5, Dispatch, DS3, DS4, DS5, Relay, SpaceTourer
DS DS3, DS3 Crossback, DS4, DS4 Crossback, DS5, DS7 Crossback
Fiat Scudo
Ford C-MAX, EcoSport, Fiesta, Focus, Kuga, Mondeo, Tourneo Connect, Transit Connect, Transit Courier
Opel Astra, Corsa, Crossland, Crossland X, Grandland, Grandland X, Mokka, Vivaro
Peugeot 108, 207, 208, 308, 508, 2008, 3008, 5008, Boxer, Expert, Partner, RCZ, Rifter, Traveller
Toyota Proace
Vauxhall Astra, Combo, Corsa, Crossland, Crossland X, Grandland, Grandland X, Mokka, Vivaro
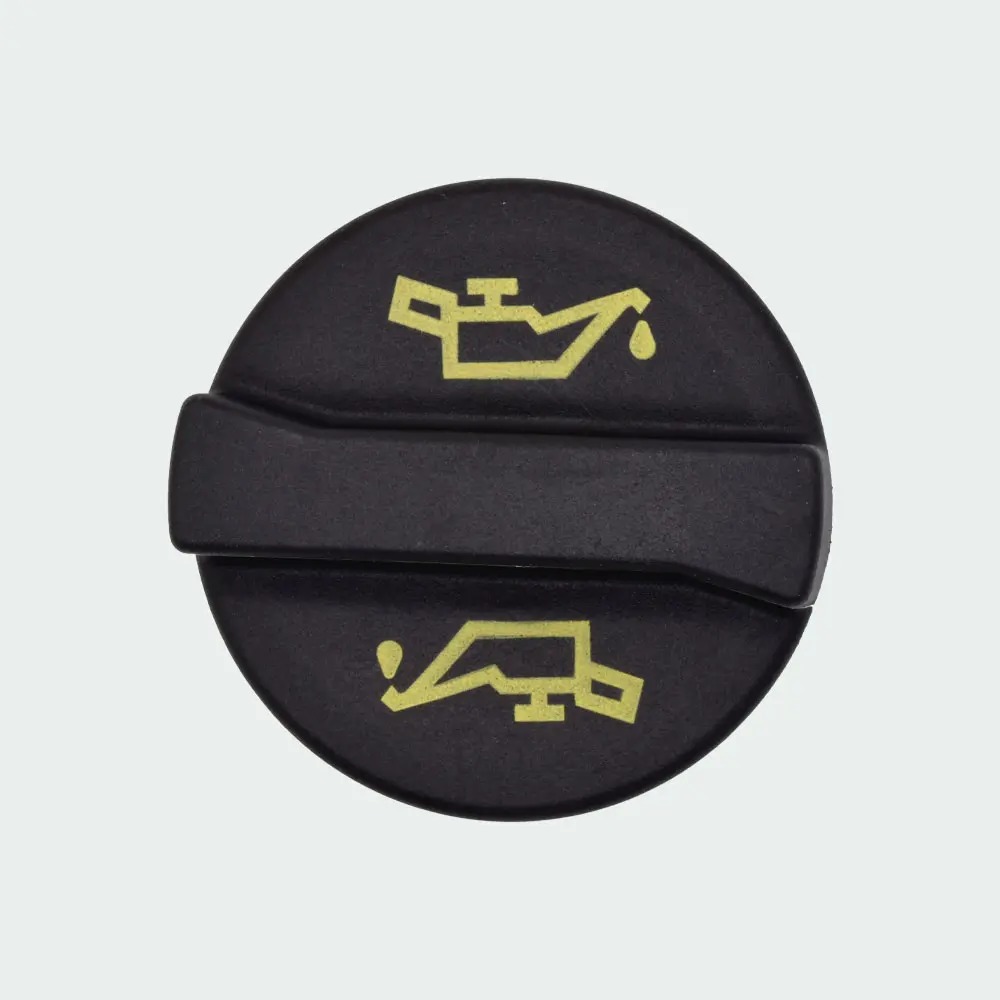
ES5502
VXPRO Oil Filler Cap
ES5502
1180R1, 1135010, 2503811, 9662149180, YS4G6766AA
Citroën Relay
Fiat Ducato
Ford B-MAX, C-MAX, EcoSport, Fiesta, Focus, Fusion, Galaxy, Ka, Kuga, Mondeo, Puma, Ranger, S-MAX, Tourneo Custom, Transit, Transit Custom
Peugeot Boxer
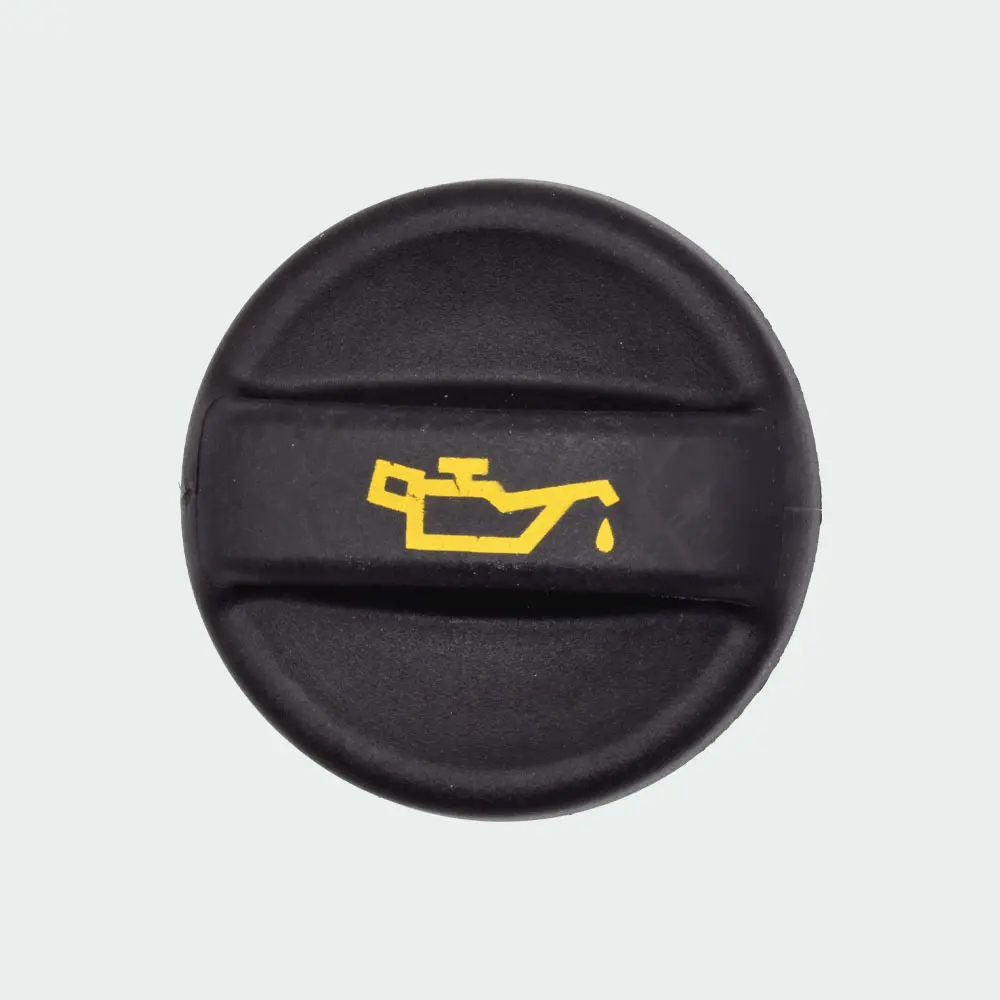
ES5503
VXPRO Oil Filler Cap
ES5503
025856, 025865, 025869, 9628897980, 11127542116
Citroën Berlingo, C2, C3, C4, DS3, DS4, Saxo, Xsara
MINI MINI
Peugeot 206, 207, 208, 307, 308, 406, 407, 508, 607, 807, 1007, 2008, 5008, Partner
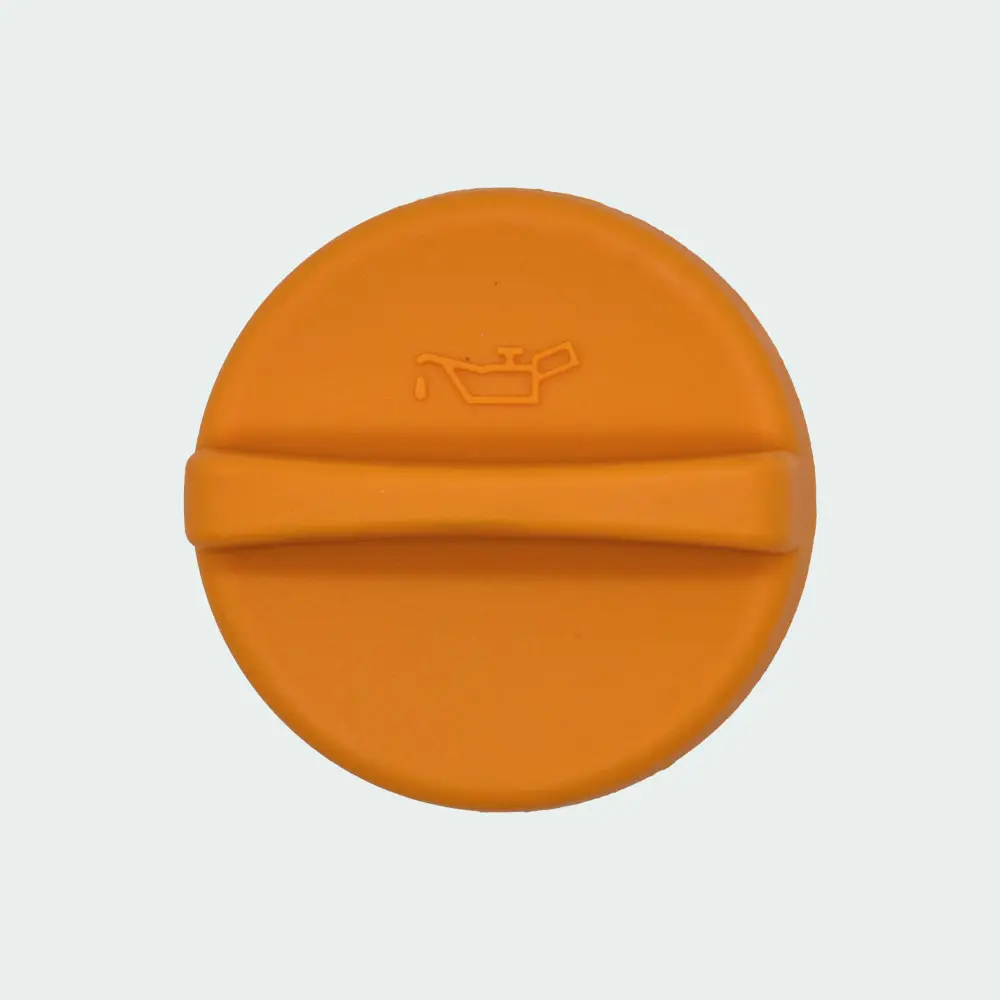
ES5504
VXPRO Oil Filler Cap
ES5504
0650090, 090448217, 090467648, 4502340, 55582541, 5650831, 90412508, 90412509, 90448217
Cadillac BLS
Chevrolet Aveo, Cruze
Lotus Europa
Opel Adam, Astra, Corsa, Meriva, Signum, Vectra, Zafira
Saab 9-3, 9-5, 900, 9000
Vauxhall Adam, Agila, Antara, Astra, Calibra, Cavalier, Combo, Corsa, Frontera, GTC, Meriva, Omega, Signum, Sintra, Tigra, Vectra, VX, Zafira

ES5505
VXPRO Oil Filler Cap
ES5505
06K103485A, 06K103485B, 06K103485C, 06K103485D
Audi A3, A4, A5, A6, A7, Q2, Q3, Q5, Q7, S3, SQ2, SQ8, TT
Cupra Ateca
Seat Arona, Ateca, Ibiza, Leon, Tarraco
Skoda Fabia, Kamiq, Karoq, Kodiaq, Octavia, Rapid, Superb
Volkswagen Arteon, Caddy, Crafter, Golf, Passat, Polo, T-Cross, Tiguan, Touran, T-Roc
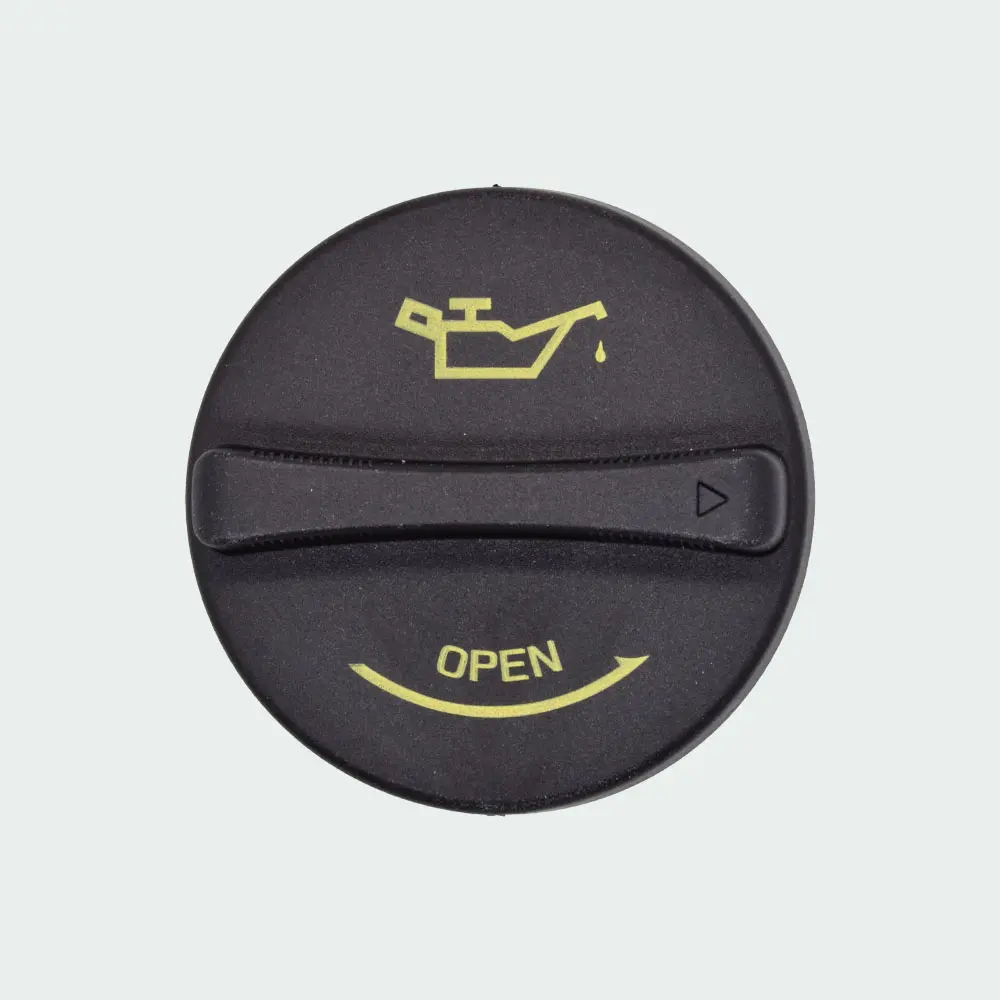
ES5506
VXPRO Oil Filler Cap
ES5506
2651026100, 2651026600, 2651026620, 265102A001, 265104A000
Hyundai Accent, Coupe, Elantra, Genesis, Getz, Grandeur, i10, i20, i30, i40, i800, iLoad, Ioniq, ix20, ix35, Kona, Matrix, Santa Fe, Sonata, Trajet, Tucson, Veloster
Kia Carens, Ceed, Cerato, Magentis, Niro, Optima, Picanto, Pro Ceed, Rio, Sedona, Shuma, Sorento, Soul, Sportage, Stinger, Stonic, Venga, XCeed
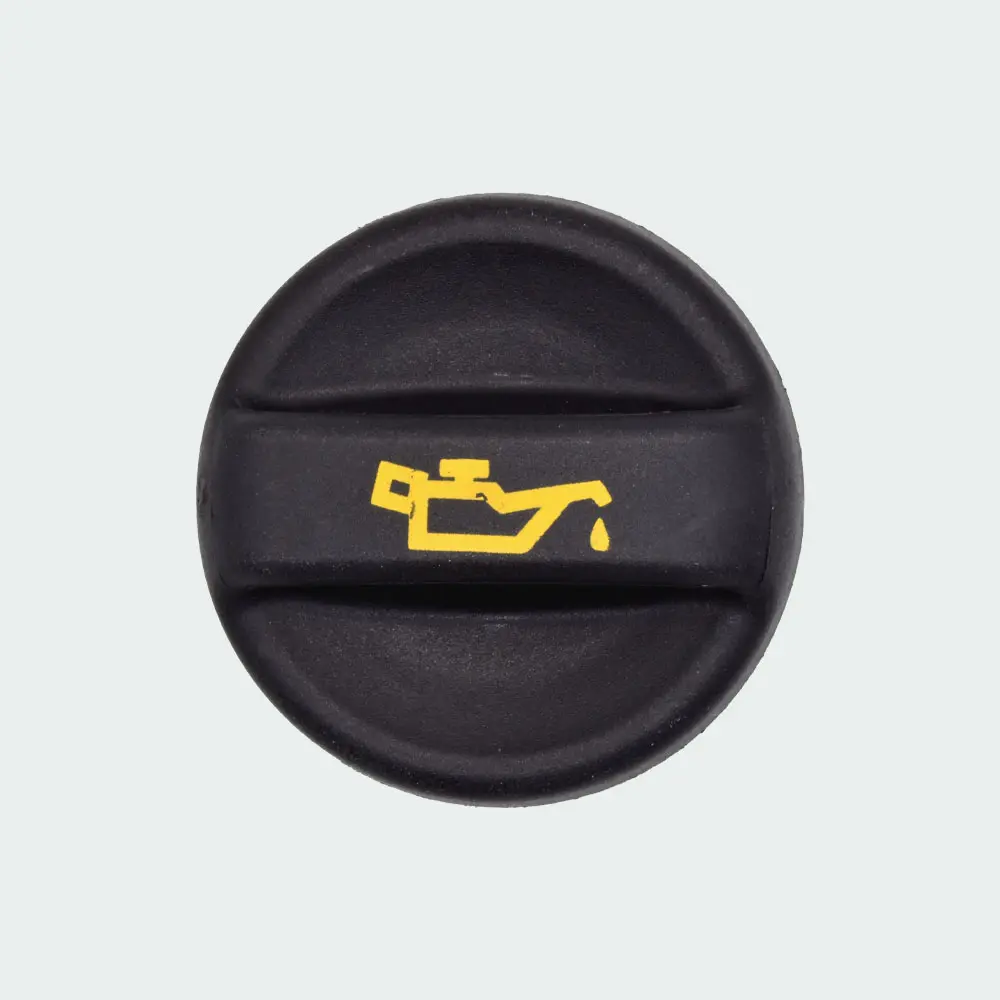
ES5507
VXPRO Oil Filler Cap
ES5507
1180F9, 1180P2, 1147687, 2S6Q6766AA, 962493980, 11127540770, 11127572848, 11127582398, 11127615369, LR006104, SU00100612, Y40114320, 30757072
BMW 1 Series, 3 Series
Citroën Berlingo, C2, C3, C4, C5, C15, Dispatch, Nemo, Xantia, Xsara
Fiat Scudo
Ford C-MAX, Fiesta,
ES5508
VXPRO Oil Filler Cap
ES5508
1131866, 71740676
Fiat 500, Fiorino, Grande Punto, Panda, Tempra, Tipo, Uno
Ford C-MAX, Focus, Galaxy, Mondeo, S-MAX, Tourneo Connect, Transit Connect
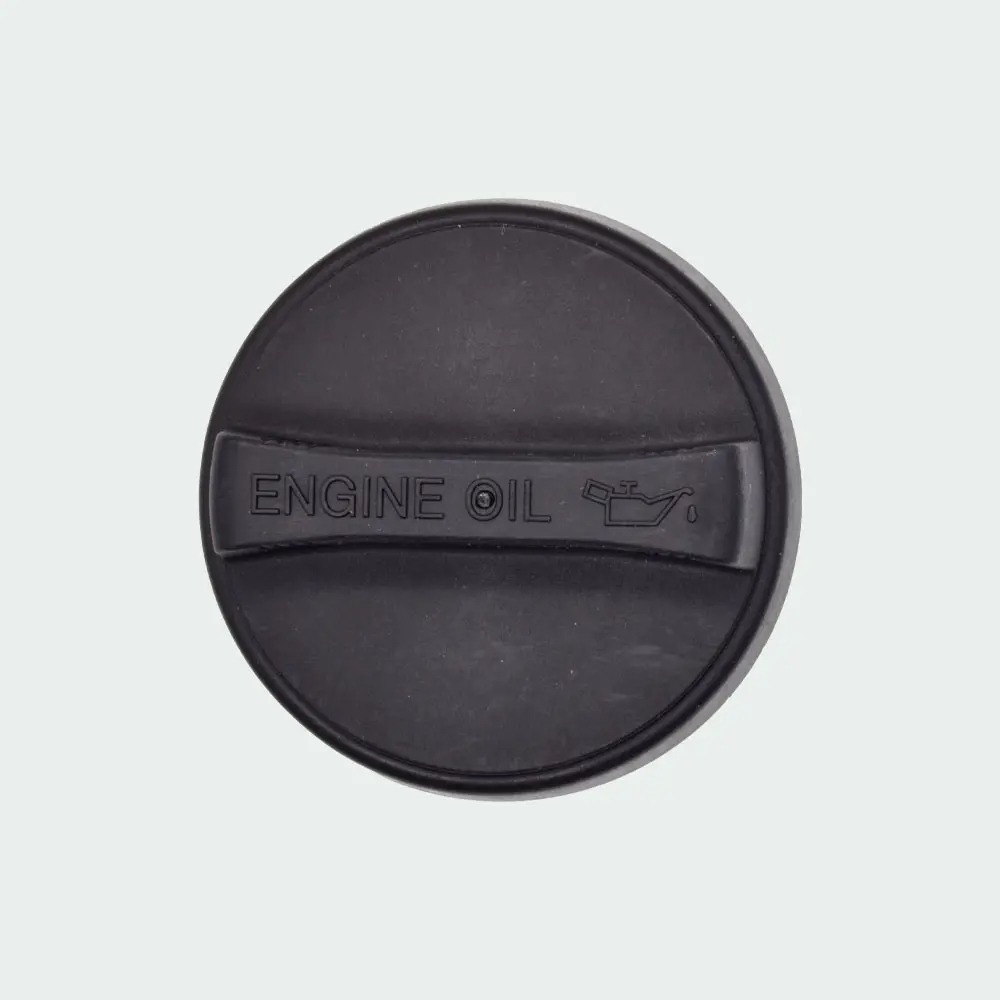
ES5509
VXPRO Oil Filler Cap
ES5509
12108130110, 1210878010, 121800D010, 121800H010, 121800H020, 1218013010, 1218013030, 1218015010, 1218015011, 1218016020, 1218021010, 1218021020, 1218038010, 1218040020
Lexus CT200, ES300, GS F, GS250, GS300, GS430, GS450, IS200, IS220, IS250, IS300, IS-F, LC500, LS400, LS460, LS500, LS600, NX200, NX300, RC F, RC200, RX200, RX450, RXL450, UX250
Toyota Auris, Avensis, Aygo, Aygo X, Camry, C-HR, Corolla, Dyna, Hi-Ace, Highlander, Hi-Lux, iQ, Landcruiser, Previa, Prius, Prius+, RAV-4, Urban Cruiser, Verso, Verso-S, Vitz, Will Cypha, Will Vi
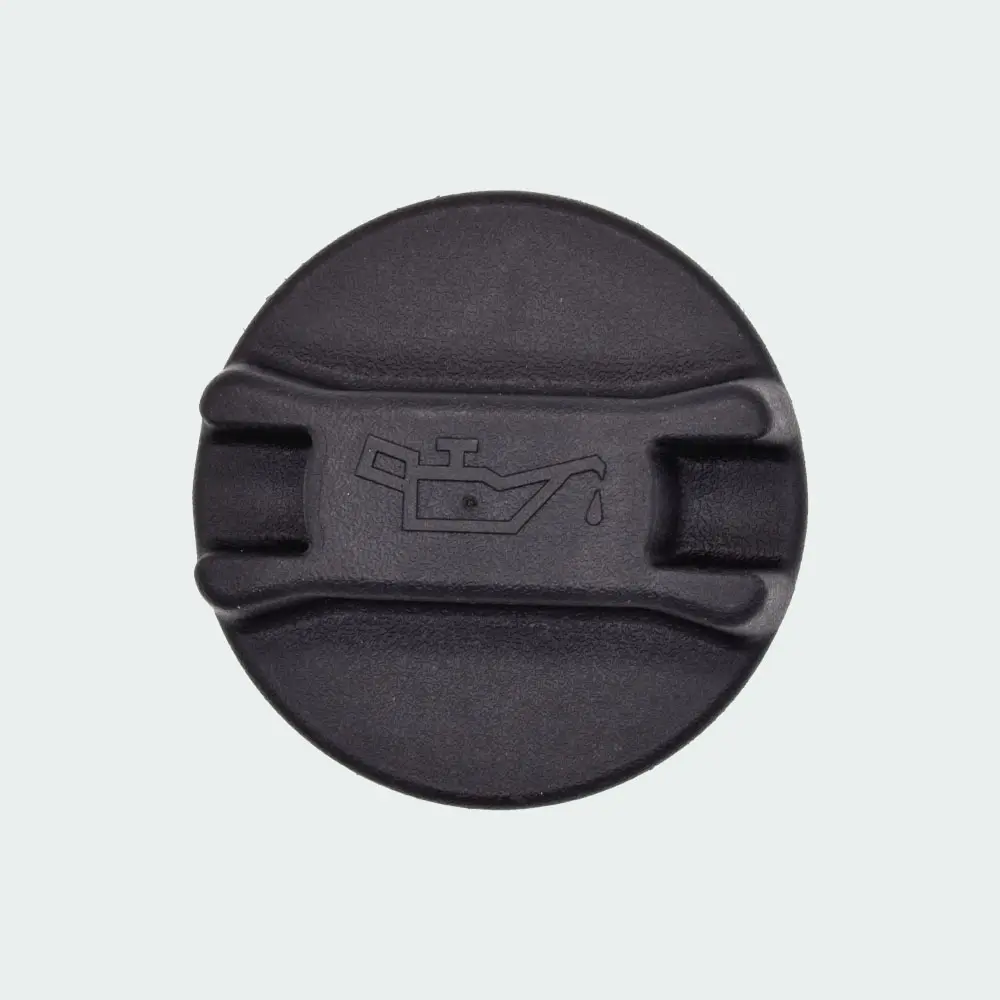
ES5510
VXPRO Oil Filler Cap
ES5510
152551GZ0A, 152551HC0A, 152551P110, 152558B000, 152559N00A, 15255ZE00A
Nissan Juke, Micra, Note, Qashqai, X-Trail
The oil filler cap seals the opening used to add engine oil and forms part of the engine's closed lubrication and crankcase ventilation system.
A correctly fitting oil filler cap:
Despite being a relatively simple component, a damaged, incorrectly fitted or missing oil filler cap can cause oil contamination around the engine bay and may affect the correct operation of the crankcase ventilation system.

Oil filler caps are repeatedly removed and refitted throughout the life of a vehicle while also being exposed to considerable engine heat, oil and vapours.
Common causes of replacement include:
Common signs that an oil filler cap may require replacement include:
A damaged cap should be replaced promptly to maintain a clean, correctly sealed lubrication system.
Not sure whether the fault lies with the sensor, wiring or reluctor wheel? Our TechASSIST team can help guide you through live signal diagnostics and best-practice installation procedures.
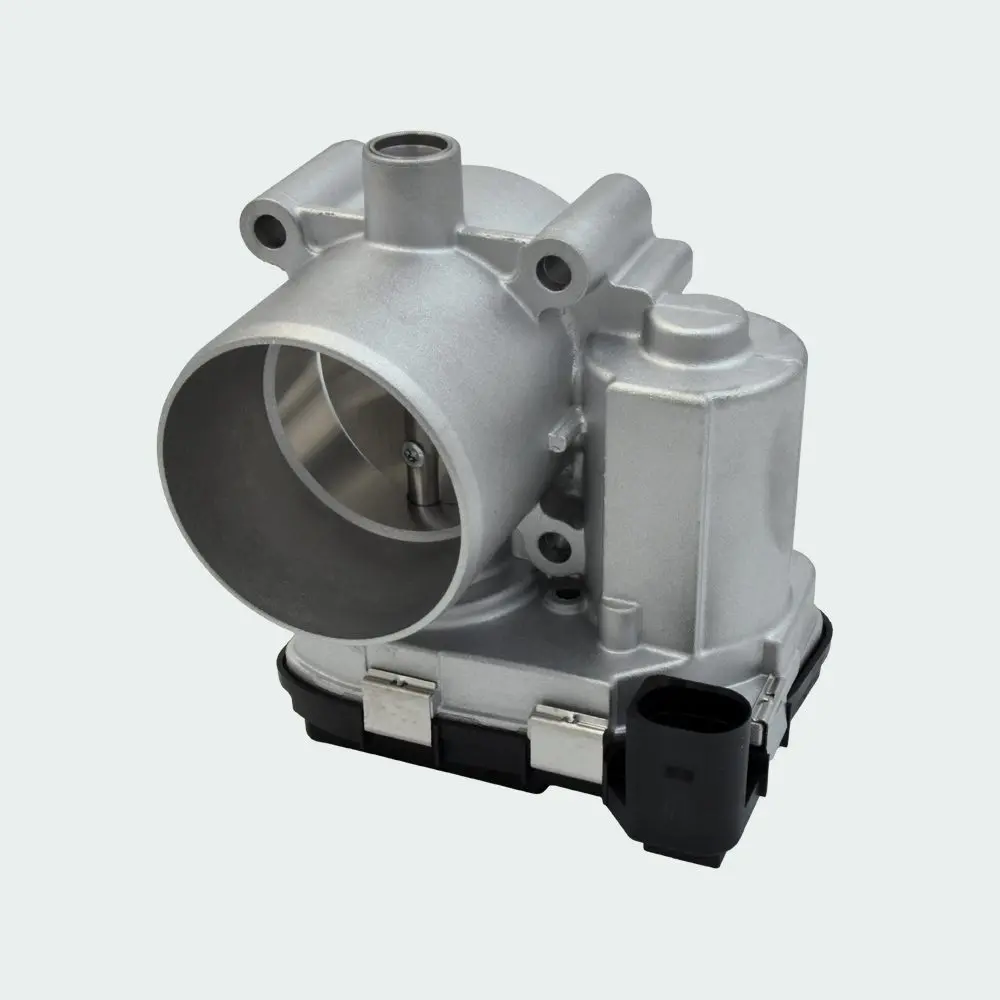
Throttle Bodies
Control airflow into the engine for precise power and efficiency with VXPRO
Exhaust Gas Recirculation (EGR) Valves
Recirculate exhaust gases to reduce emissions and improve combustion efficiency with VXPRO

Oil Pressure Switches
Monitor engine oil pressure to protect against wear and damage

 For Technical Support – Start a WhatsApp Chat with our TechASSIST Experts